Thursday, December 25, 2008

Christmas Morning

I won't keep you in suspense. She likes it! It was a total surprise, too! We moved it into place last night, in her basement playroom. For those of you who might ever make one of these, this puppy is heavy...so do the work on the same level where the kitchen is going to live if you can!

Apologies that these first few photos are blurry. Someone got the lens of the camera a little buttery when she was making baklava. Hubby fixed it, as you'll notice in a little bit!

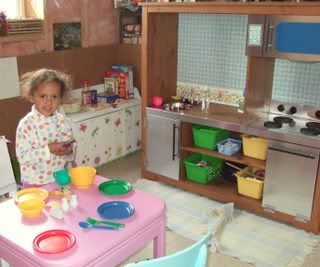
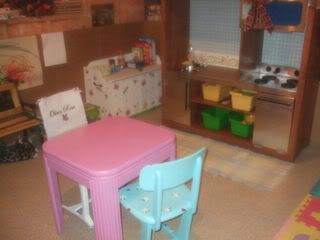
Here is is, in her playroom. We moved a couple of chairs from upstairs so she'd have a kitchen table and chairs.
Photobucket

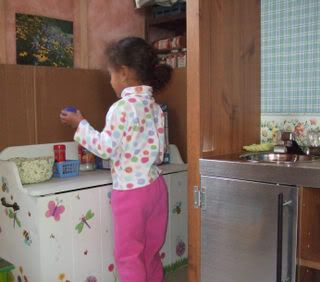
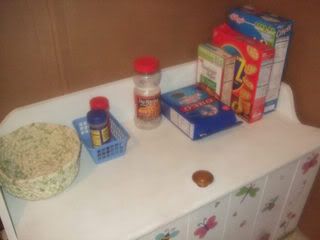
We're using the top of a toy chest as the 'pantry' for her boxes and containers.
Photobucket

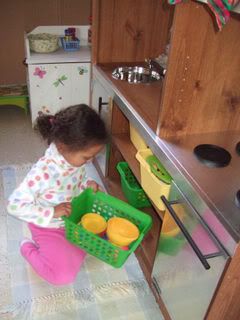
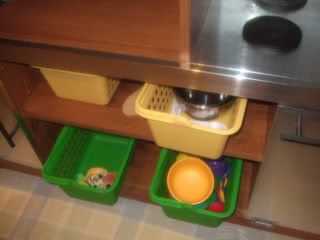
We put a few things into the baskets that hold the food, dishes, pots, etc. These are things we had on hand, mostly from friends or yard sales.
Photobucket

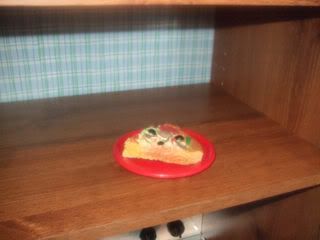
Just for fun, we put a piece of (plastic) pizza on a plate in the microwave. Hee!
Photobucket

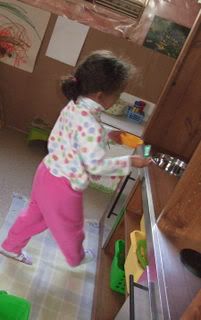
We got quite the late start on Christmas Morning, but it was fine. A lot of family and friends were in cahoots on this gift, so her presents under the tree included the food I pictured in an earlier post, kitchen towels, potholders, hot pads, a tea set and a mixer. She was perfectly content to just play with those things upstairs, but we eventually lured her downstairs. (Oh, and we brought down all those things, too!) She wasn't sure where to begin!
Photobucket

Photobucket

Photobucket

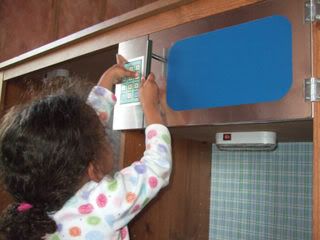
Is that a microwave?
Photobucket

Photobucket

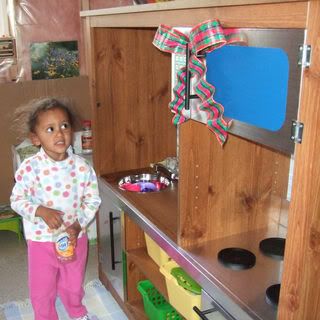
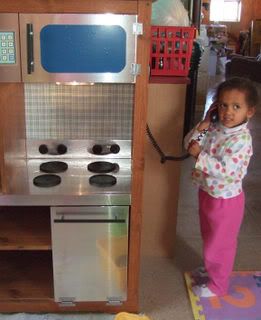
When she found the phone, she called Hello Kitty right away, to invite her for tea.
Photobucket

She is truly happy and content!
Photobucket

Thanks for sharing this with us! It has been a load of fun to gather things and make this happen. I think she's going to get a great deal of use from her new kitchen and all the things in it! :)

Merry Christmas!
Sunday, December 21, 2008

I think we're done!

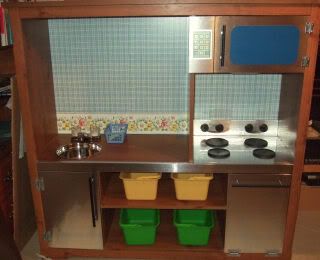
Well, I think we have it finished! Here are the last few touches we added.

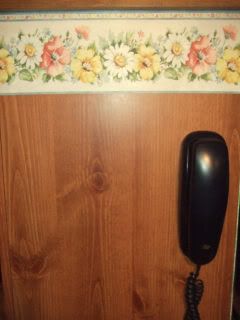
This is one end of the entertainment center. It had a big weird 'tape mark' at the top, where someone had taped something, and the finish came off when they removed the tape. Wallpaper border to the rescue! There was also a big 'chip' in the side where a hunk of wall was missing, so that's where we hung the phone. I'll put a wee table near this, with a pencil and post-it notes. :)
Photobucket

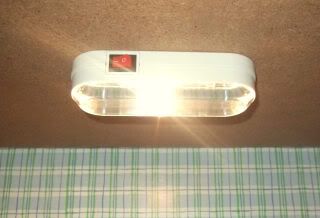
We found a 2-pack of these battery operated closet lights for $5, so we put one above the stove and one over the sink. I know. This is getting really fancy!
Photobucket

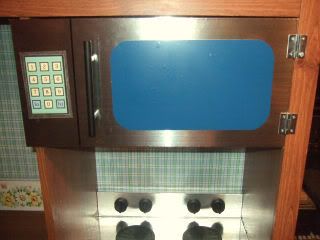
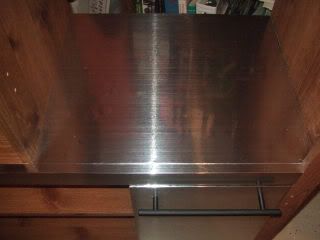
Remember how I said I had a spare shelf the same width as the stove? Hubby had THE COOLEST idea. I cut it down a bit, covered it in the stainless steel adhesive stuff, and we added a couple hinges, a handle, and we made a microwave!
Photobucket

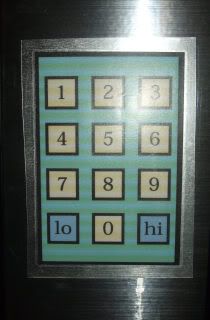
I make a 'keypad' on Publisher and we just added it over the top with some clear con-tact paper. The 'window' is blue contact...and it's a darker blue than it appears to be in the pics. Cool, though.
Photobucket

This is it! The little baskets on the lower shelves are for food, pots, dishes, etc. We had them already, so no added cost there. We made this happen for a little under $65. I can't wait for Christmas Morning!!!
Photobucket

More photos when we get it set in place, as well as her reaction on Christmas! Thanks for reading along, and I hope this inspires you to try something home-made! :)

Wednesday, December 17, 2008

Kitchen Accessories

I don't have any progress to show you but I thought I'd show you a couple of the accessories!

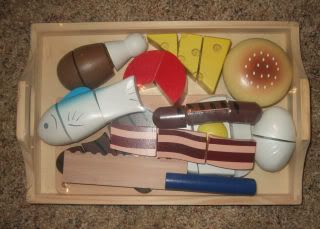
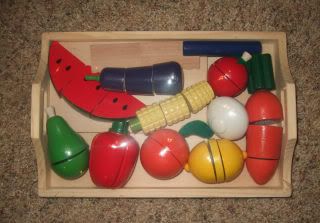
We got these a few years ago, marked way down way after Christmas. She is just now old enough to play with them, and she is going to LOVE them. She loves cutting up bananas and bread with a plastic knife...each of these sets has a wooden knife, and the food is in sections, connected with velcro!

Meat, fish, poultry:
Photobucket

Fruits and vegetables:
Photobucket

We've also been saving containers - we have a cereal box, a cracker box, some yogurt and sour cream containers. They're just things we have emptied in the course of livin' life and eatin' food. As they wear out, we'll replace them with new old containers.

Grandma sent some hand-made dish towels, potholders and hot pads too! We've also got a scrubbie, an empty dish soap bottle and some plastic 'shopping baskets' we already owned that she can use for storage.

We're debating new dishes/pots and pans. We have some that were given to us by a friend, and they would work just fine.

More soon! :)

Sunday, December 14, 2008

Burners, Knobs and Walls

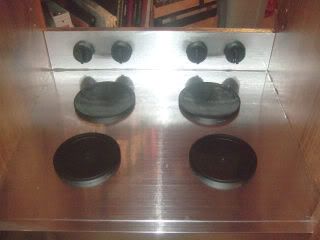
Things are really progressing with the kitchen! This weekend we got the burners and stove knobs attached. What do you think? (Apologies for the glare - all the shiny surfaces are reflecting!)
Photobucket

We still have to figure out the oven knob. It's got a much shorter post on it, plus there is a metal liner inside the post. The burner knobs were plastic, and we figured out a way to use a screw and washer to make them turn freely. The oven knob is more of a challenge.

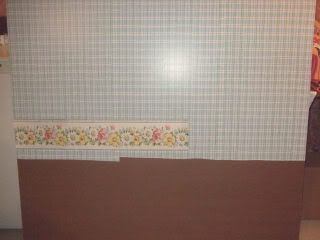
I was going to paint the back 'wall', but I realized a couple of things. For one, I didn't have any interior primer...so I would have to buy that. I didn't know how much wear and tear that particle board stuff would take, either...and I realized that I had enough of this plaid contact paper to do the job. So, here is the back wall. I know it looks like it's ick, but once it's in place, it works out the way it's supposed to.
Photobucket

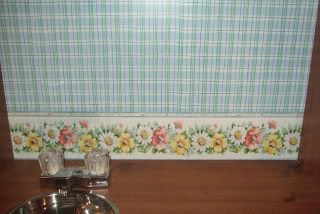
So...this is how it looks by the sink and counter. How cute is that border! (yay, Goodwill!)
Photobucket

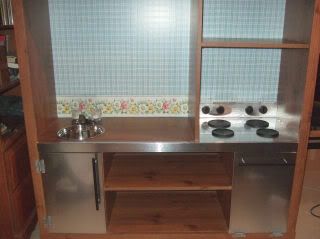
And this is the whole thing, so far.
Photobucket

We are not finished just yet! I can't wait to show you what else we're going to do! :)

Monday, December 8, 2008

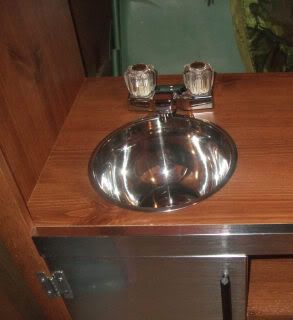
Kitchen Sink and Faucet are in!

We spent a little time on our project last night. It's coming along great! I've been taking a few photos of the process in case someone else wants to try this some time. I know that when I'm doing something new, a photo or two can really help! I hope these are helpful to you.

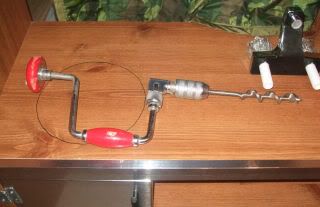
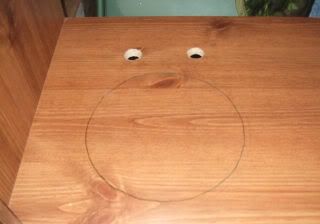
We are installing the sink and faucet. For the sink we'll need a big hole, for the faucet, two little ones. Here's the faucet (on the right). That tool is a brace and bit. The brace (the part you hold and turn) is relatively new, but the bit (the part that does the drilling) belonged to my Grandpa F. I have a set of his auger bits that were handed down to me...and wanted to use one on the project, just for the warm fuzzies it gives me.
Photobucket

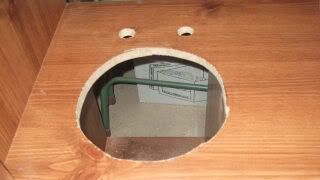
There! Now we have holes for the faucet! The black line circle is the hole we need to cut for the sink. I traced around the top lip of the bowl we're using for the sink, then made this line inside the traced line, so that the bowl will sit right on top of the countertop.
Photobucket

See? It doesn't have to be perfect! This is gonna be great!
Photobucket

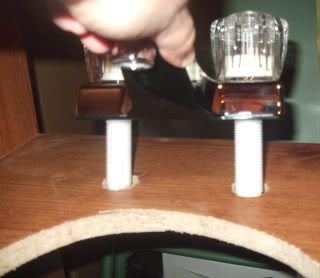
The posts on the faucet go into the two holes...
Photobucket

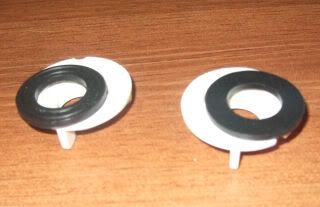
The black discs are rubber washers. I'm using those because they'll add a little bit of 'grip'. The white discs are threaded, and both of these pieces go on underneath the counter. You just hand-tighten the whole thing.
Photobucket

Then you set the sink into the sink hole and....wowee!!
Photobucket

Hubby was sweet enough to pick me up another roll of the silver/stainless adhesive paper. Then, we got to talking about some things. Turns out I won't be using that spare shelf the way I thought. It also turns out I have enough leftover stainless to do what we've got planned. It is SO COOL. Hubby is a genius. I can't wait to show you what we're going to do next!

Thanks for coming and reading this. I think I'd explode if I couldn't share this with someone before Christmas!!

Sunday, December 7, 2008

Some Progress!

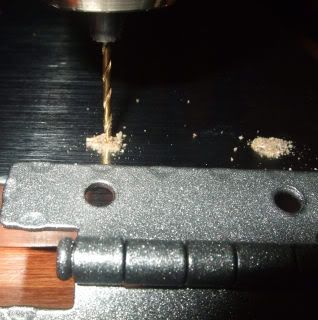
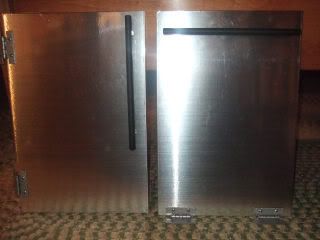
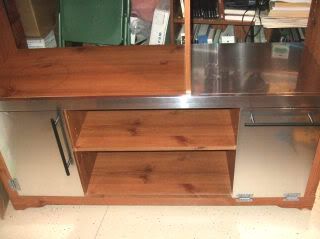
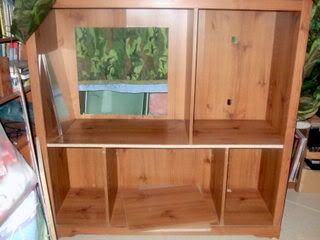
We got the backing off of the entertainment center (we are replacing that) and I got the doors and the front of the 'counter' covered with the brushed stainless adhesive covering. I had to move the hinges on the door that will be the oven door, so I pre-drilled little pilot holes for those, and attached the hinges.
Photobucket

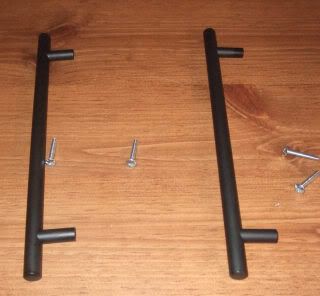
I have pulled a bunch of odds and ends from an old kitchen stove we just happen to have on our property. I was going to take the old oven door handle, cut it in two and somehow make the handles for the wee oven door and the wee fridge door. I know I could have figured out a way to make it work....but these pulls were on clearance at Lowe's.
Photobucket

Nice!!
Photobucket

The area that will be the top of the stove gets covered with the adhesive brushed stainless too. I didn't notice when we got the unit that the surface some swelling from water damage. So, I sanded it down until it felt smooth.
Photobucket

It doesn't look as smooth in person as it looks in the photo.
Photobucket

I'm pretty disappointed, but last night I told myself that by the time we add burners and knobs, maybe it won't be so noticeable. Later last night, I realized I have a spare shelf piece the exact size of that space. It is perfectly smooth - no water damage! I could cover it with the stainless, and just put it on top of the one that's icky. Of course, I'm 2 inches short of having enough of the stainless left to do this. Dare I drop another $7 on the stickyback stainless to do this piece? As I type this, I think I probably will.

Here is our progress so far. Not bad!
Photobucket

Hubby is going to get the backing today (and I'll ask him to pick me up another roll of the adhesive stainless) and tonight after Little Bit is in bed we're going to cut openings for the sink and faucet.

Slowly but surely, it's coming together! If you have any ideas, comments, thoughts - we'd love to hear them! Please leave a comment! :)

Wednesday, November 26, 2008

Ok, here's the plan!

First of all, thanks for visiting! I want to keep this a surprise for Livvy, and this seems like the best way, since she sees my blog a lot (when I'm typing up entries and such). First thing I'm going to do is take you off here, to the post that started all this (for me, anyway). Peek here to see what we're up to!

Isn't that the coolest?!?!?!?

So, before I even got a photo taken, I've already started taking off doors, the front trim and such:
Photobucket

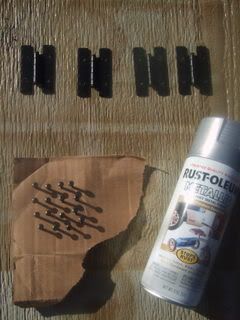
I managed to find the stainless steel adhesive covering at Lowe's...so we're doing that for the fridge and oven, the front trim piece and the stove top. The hinges on the entertainment were black:
Photobucket

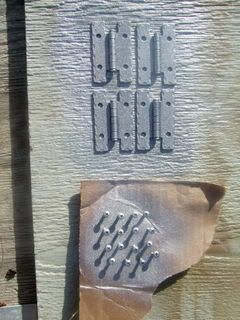
Not anymore!
Photobucket

Just a note - any time you need screws to be a different color, just twist them into a piece of corrugated cardboard, then paint them. It's really easy to do and they can stay that way until they're dry, so they stay 'neat'. Also, we are using paint from previous projects. When you're done spray painting something, turn the can upside down and spray until only air comes out, then cap it. This keeps the cap from clogging up with dried paint. (Nowadays, they have some paint cans that will spray at any angle, so check those for instructions on how to preserve the leftover paint.)

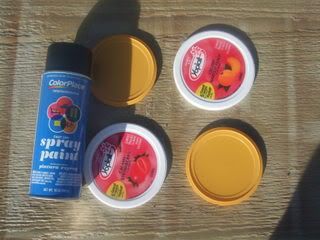
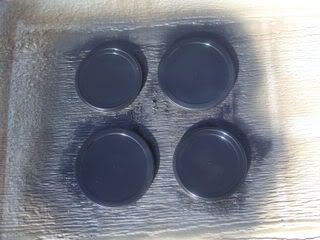
Lids recycled into stove burners:
Photobucket

Photobucket

More pictures soon! Got any ideas for us, please leave a comment. Thanks!! :)